
The Ultimate Guide to Installing and Maintaining Your Villa 900 Tile
Villa 900 tile has become increasingly popular among homeowners and designers for its elegant appearance, durability, and versatile applications. Whether you’re renovating your kitchen, bathroom, or outdoor space, understanding the best practices for installing and maintaining Villa 900 tile will ensure that your investment remains beautiful and functional for years to come. This comprehensive guide will walk you through everything you need to know about working with this tile, from preparation and installation to routine care and maintenance.
What Makes Villa 900 Tile Special?
Villa 900 tile is known for its premium quality, intricate design, and robust build. Typically crafted from porcelain or ceramic materials, these tiles offer excellent resistance to moisture, stains, and wear, making them suitable for both indoor and outdoor use. Their aesthetic appeal lies in the variety of finishes and patterns available, often mimicking natural stone or wood, which can elevate any space with a touch of sophistication.
Preparing for Villa 900 Tile Installation
Before you dive into laying Villa 900 tiles, proper preparation is key to achieving a flawless and long-lasting installation. First, ensure that the surface you intend to tile is clean, smooth, and structurally sound. Remove any debris, old adhesives, or coatings that could interfere with tile adhesion.
Next, measure the area carefully to calculate the number of Villa 900 tiles required, considering an additional 10-15% for cuts and potential breakage. Gather all necessary tools: tile spacers, a notched trowel, a tile cutter or wet saw, a level, a rubber mallet, grout, and sealant.
Step-by-Step Installation Process for Villa 900 Tile
1. Layout Planning
Begin by dry-laying a few tiles along the edges of the space to visualize the pattern and placement. This will help you avoid awkward cuts at visible areas and adjust the pattern for visual harmony.
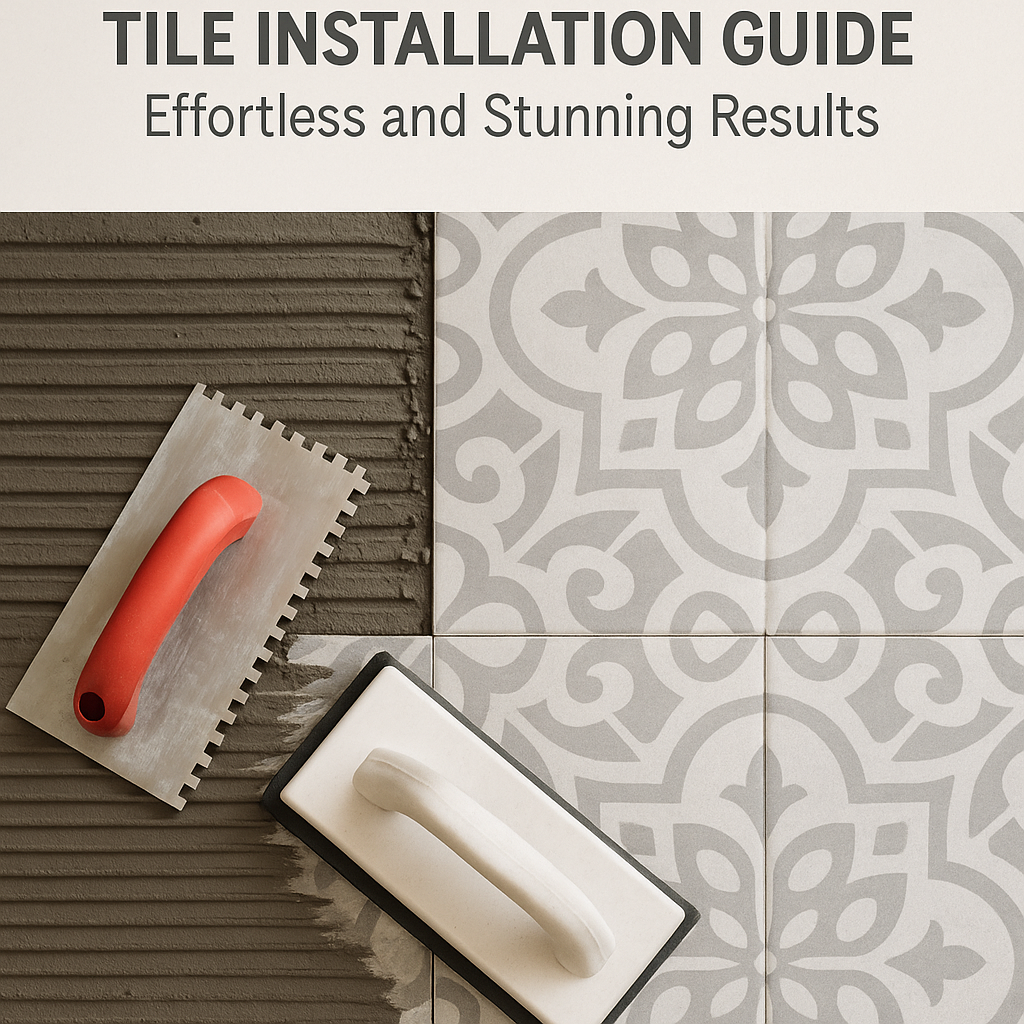
2. Applying Adhesive
Using a notched trowel, spread tile adhesive evenly across a small section of the surface—only as much as you can cover with tiles before it starts drying. The right amount and even spreading are crucial for proper bonding.
3. Placing the Tiles
Gently press each tile into place, using tile spacers to maintain consistent grout lines. Tap tiles lightly with a rubber mallet to ensure they are firmly seated and level with adjacent tiles.
4. Cutting Tiles
For edges and corners, measure and mark the tiles that need to be cut. Use a tile cutter for straight cuts or a wet saw for more precise or intricate cuts. Always wear safety goggles when cutting tiles.
5. Grouting and Sealing
Allow the adhesive to dry according to the manufacturer’s instructions before applying grout between tiles using a rubber float. Remove excess grout with a damp sponge and let it cure. Once dry, sealing the tiles and grout is highly recommended to protect against moisture and stains, particularly in high-traffic or wet areas.
Maintaining Villa 900 Tile for Longevity
Keeping your Villa 900 tile looking fresh requires regular maintenance, though the effort is minimal given their durable nature.
Routine Cleaning
Sweep or vacuum regularly to remove dirt and grit that can scratch tile surfaces. Mop the tiles with a mild detergent and warm water, avoiding harsh chemicals or abrasive cleaners that can dull the finish or wear down grout.
Addressing Grout
Grout can darken or become discolored over time. Periodically clean grout lines with a baking soda and water paste or specially formulated grout cleaner. For severely stained grout, consider professional re-grouting or the application of a fresh grout stain.
Dealing with Damage
Though Villa 900 tiles are resistant to chipping and cracking, accidents happen. Promptly replace broken tiles to prevent further damage. Fortunately, individual tiles are simple to remove and replace without disturbing the entire installation.
Seasonal Care for Outdoor Tiles
If you’ve installed Villa 900 tile outdoors, take extra precautions during winter. Use non-corrosive ice melt products and avoid harsh chemicals to prevent damage from freeze-thaw cycles.
Final Thoughts on Villa 900 Tile
Choosing Villa 900 tile blends aesthetics with durability, making it a superb choice for many design projects. By following the right installation methods and committing to routine maintenance, your Villa 900 tile surface will not only look stunning but also stand the test of time. Whether you are a DIY enthusiast or hiring professionals, understanding this process ensures a satisfying experience and a lasting investment in your home.